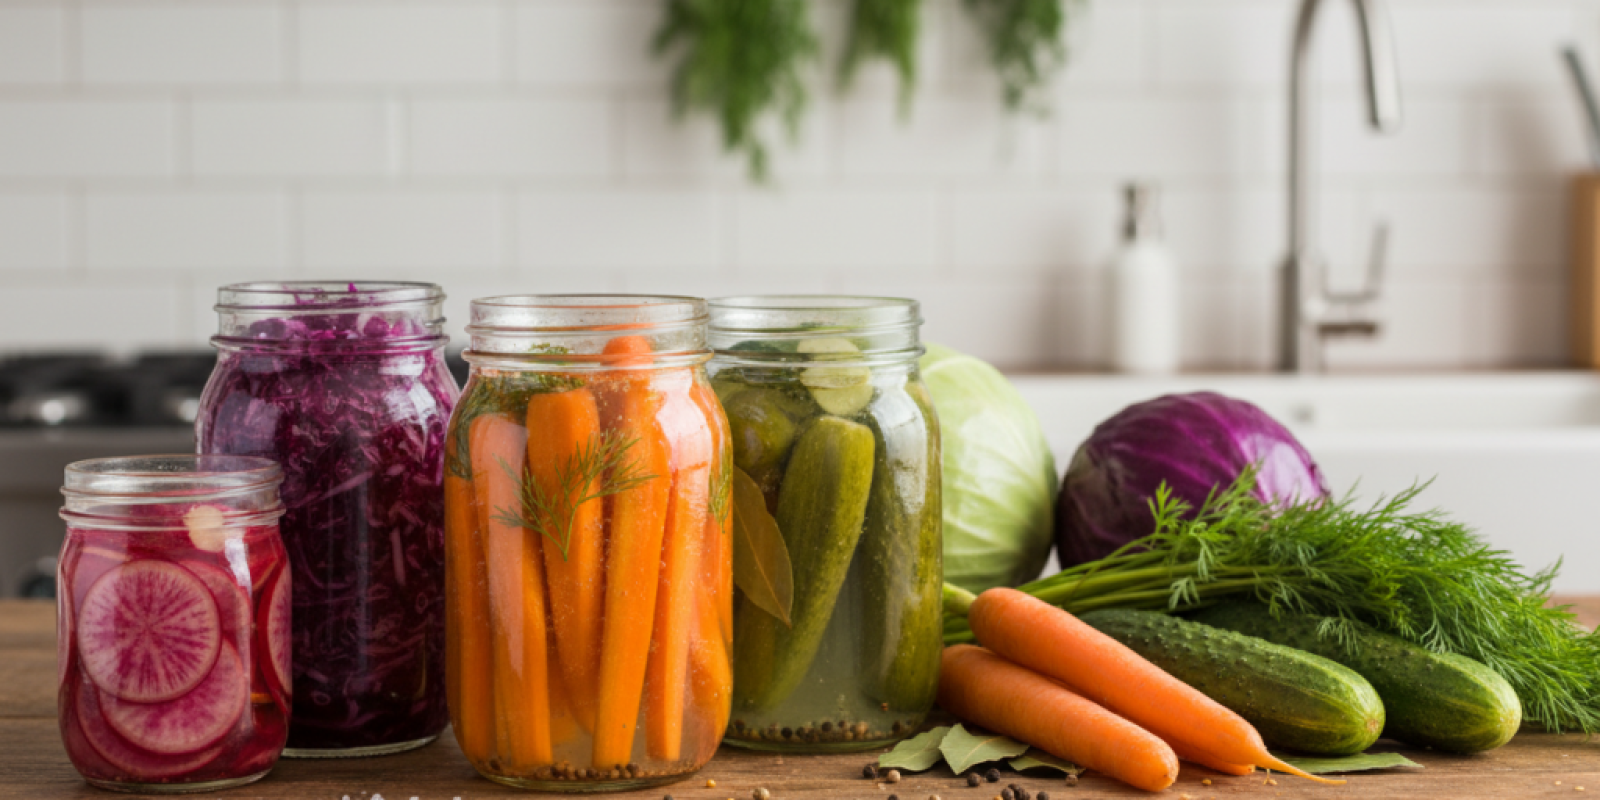
Quick Fermentation Techniques for Preserving Seasonal Vegetables: Transform Your Garden Harvest in Days, Not Months
Table of Contents
1. Introduction: Why Quick Fermentation is a Game-Changer
2. Understanding the Science Behind Quick Fermentation
3. Essential Equipment for Rapid Vegetable Fermentation
4. Top Quick Fermentation Techniques for Seasonal Vegetables
5. Best Vegetables for Fast Fermentation Projects
6. Step-by-Step Guide to 48-Hour Fermented Vegetables
7. Troubleshooting Common Quick Fermentation Issues
8. Storage and Safety Tips for Fast-Fermented Vegetables
9. Conclusion: Embrace the Art of Quick Preservation
10. Frequently Asked Questions
Introduction: Why Quick Fermentation is a Game-Changer
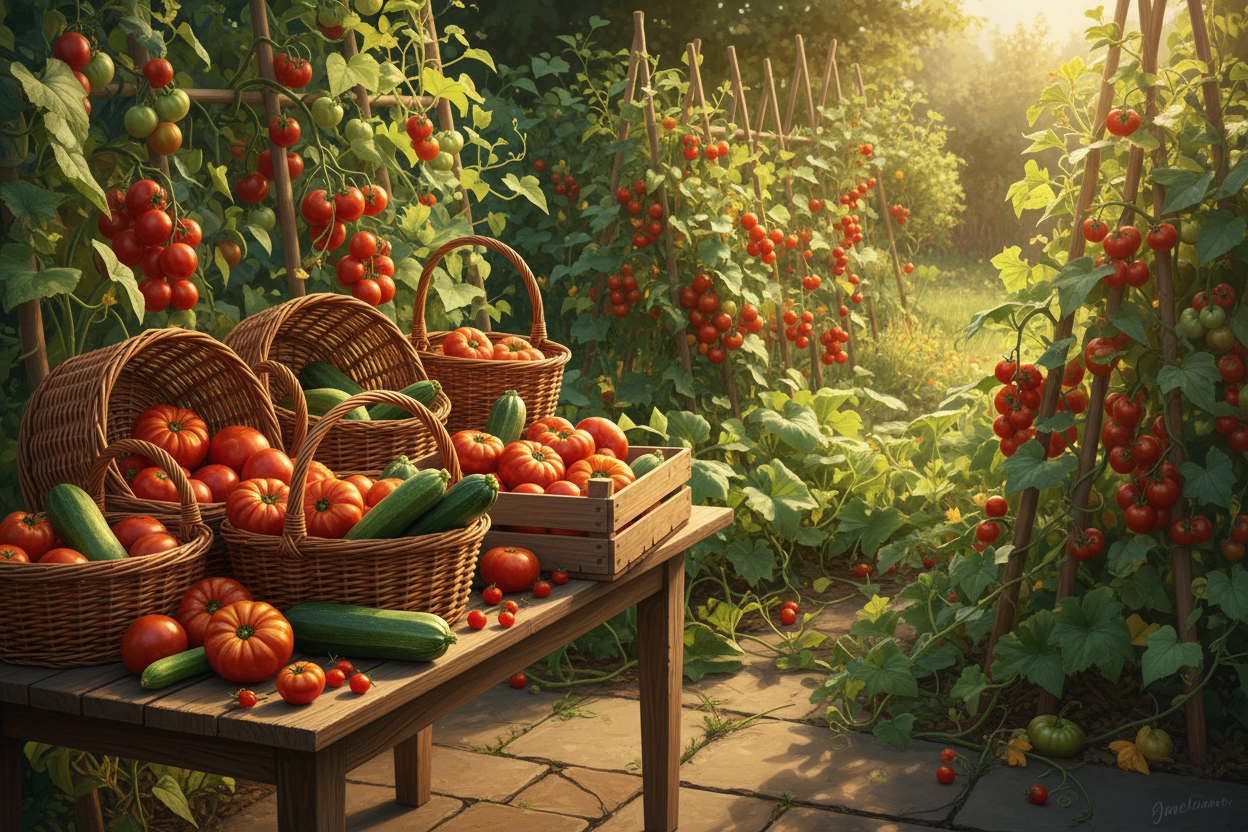
Picture this: it’s late summer, and your garden is absolutely bursting with fresh vegetables. Tomatoes are ripening faster than you can eat them, cucumbers are taking over your kitchen counter, and don’t even get me started on the zucchini situation. Sound familiar? If you’re like most home gardeners, you’ve probably found yourself in this delightful predicament more than once.
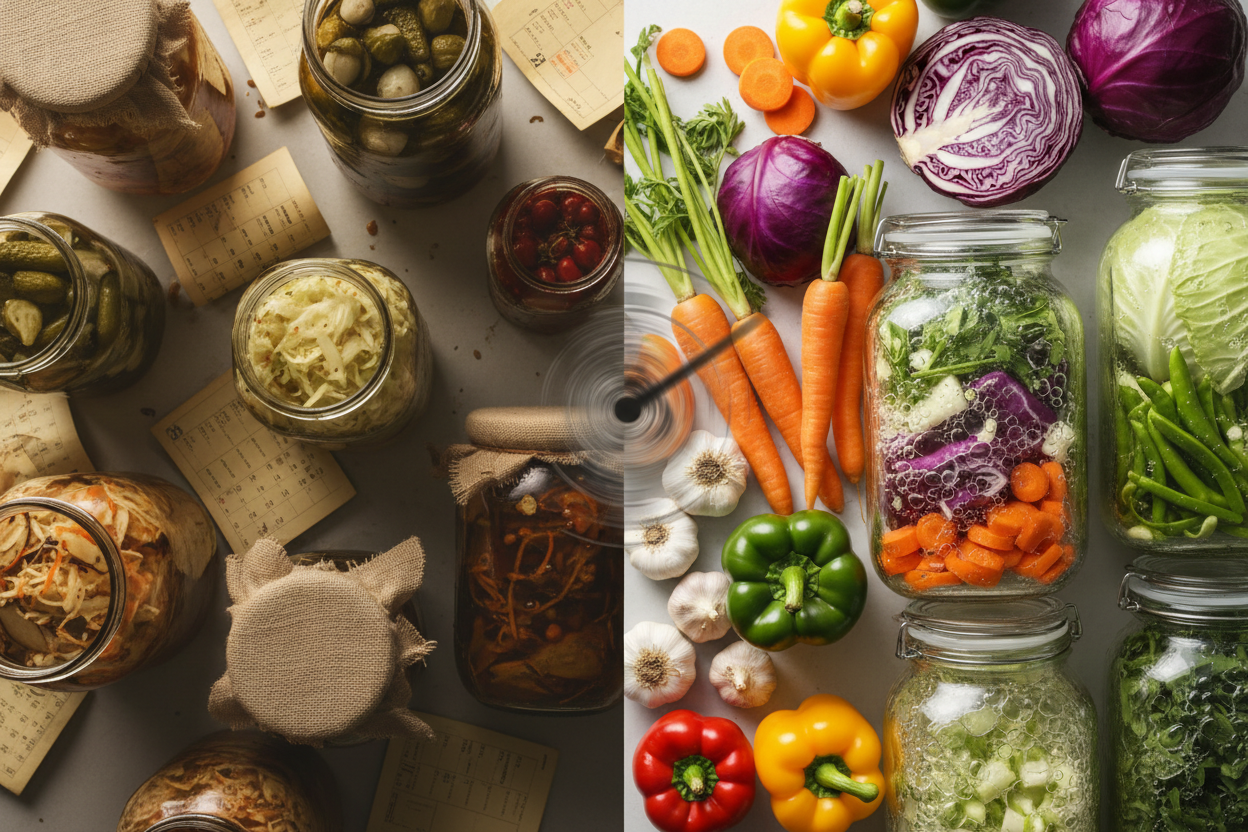
Traditional fermentation methods, while incredibly rewarding, often require weeks or even months to complete. But what if I told you that you could preserve your seasonal vegetable bounty in just days using quick fermentation techniques? These rapid preservation methods aren’t just convenient – they’re absolutely revolutionary for busy home cooks who want to capture peak seasonal flavors without the long wait.
Quick fermentation techniques have completely transformed how I approach vegetable preservation. Last autumn, when my neighbor’s apple tree dropped more fruit than their family could handle, I used these methods to create fermented apple-cabbage kraut in just three days. The result? A tangy, probiotic-rich condiment that lasted through winter and added incredible depth to our meals.
Understanding the Science Behind Quick Fermentation
Before diving into specific techniques, it’s crucial to understand what makes quick fermentation possible. Traditional fermentation relies on naturally occurring bacteria and yeasts, which work slowly at room temperature. Quick fermentation accelerates this process through controlled environmental factors.
The key lies in creating optimal conditions for beneficial bacteria while inhibiting harmful microorganisms. Higher salt concentrations, controlled temperatures, and specific pH levels all contribute to faster fermentation rates. When you increase the temperature slightly – say from 65°F to 75-80°F – you can dramatically reduce fermentation time without compromising safety or flavor.
Salt plays a particularly important role in quick fermentation. Higher salt concentrations not only preserve vegetables but also create an environment where lacto-bacteria thrive while harmful bacteria cannot survive. This is why many quick fermentation recipes call for salt concentrations between 3-5%, compared to the 2-3% used in traditional methods.
Essential Equipment for Rapid Vegetable Fermentation
Successful quick fermentation doesn’t require expensive equipment, but having the right tools makes the process significantly easier and more reliable. Here’s what I consider essential for anyone serious about rapid vegetable preservation:
A digital scale is absolutely non-negotiable. Precise measurements are critical in quick fermentation, where small variations in salt content can dramatically affect results. I learned this lesson the hard way when my first batch of quick-pickled radishes turned out too salty because I eyeballed the measurements.
Wide-mouth mason jars are perfect for most quick fermentation projects. Their standardized sizes make it easy to calculate ratios, and the wide opening allows for easy packing and removal of vegetables. I prefer quart-sized jars for most projects, though pint jars work well for smaller batches or when experimenting with new recipes.
A fermentation weight system keeps vegetables submerged below the brine, preventing exposure to air that could lead to unwanted mold growth. Glass weights work beautifully, but you can also improvise with a small glass jar filled with water.
Top Quick Fermentation Techniques for Seasonal Vegetables
The salt-massage technique is perhaps the most versatile method for quick vegetable fermentation. This approach works exceptionally well with cabbage, cucumbers, and other high-water-content vegetables. By massaging salt directly into chopped vegetables, you break down cell walls and extract natural juices, creating an immediate brine environment.
Hot-brine fermentation represents another powerful technique for rapid preservation. This method involves pouring hot (not boiling) salted water over prepared vegetables, which jump-starts the fermentation process while maintaining the vegetables’ crunch. I’ve used this technique successfully with green beans, carrots, and mixed vegetable medleys.
The starter culture method accelerates fermentation by introducing active bacteria from previous batches or commercial starters. Adding just two tablespoons of brine from a successful fermentation can reduce processing time by 24-48 hours. It’s like sourdough starter for vegetables – once you have it going, each subsequent batch becomes faster and more predictable.
Temperature-controlled fermentation involves maintaining vegetables at slightly elevated temperatures (75-85°F) to speed bacterial activity. This can be achieved using a heating mat, warm oven with just the light on, or even placing jars near a heat source. The key is consistency – temperature fluctuations can lead to uneven fermentation or off-flavors.
Best Vegetables for Fast Fermentation Projects
Not all vegetables are created equal when it comes to quick fermentation. Some naturally lend themselves to rapid processing, while others require more patience. Understanding these differences will help you choose the right vegetables for your timeline and taste preferences.
Cabbage remains the undisputed champion of quick fermentation. Its high water content and natural sugars create ideal conditions for rapid bacterial activity. I can consistently produce tangy, crunchy sauerkraut in just 3-4 days using the salt-massage technique combined with slightly elevated temperatures.
Radishes are another excellent choice for beginners. Their peppery flavor mellows beautifully during fermentation, and their firm texture holds up well to the process. Quick-fermented radishes develop a wonderful pink color and complex flavor profile in just 2-3 days.
Cucumbers, when properly prepared, can be transformed into delicious fermented pickles in under a week. The key is using small, firm cucumbers and removing the blossom end, which contains enzymes that can make pickles soft. Persian or pickling cucumbers work best for quick fermentation projects.
Green beans, carrots, and cauliflower all respond well to hot-brine fermentation techniques. These heartier vegetables benefit from the initial heat shock, which softens them slightly while maintaining structural integrity. Mixed vegetable ferments using these ingredients often develop complex, layered flavors in just 4-5 days.
Step-by-Step Guide to 48-Hour Fermented Vegetables
Creating delicious fermented vegetables in just 48 hours might sound impossible, but with the right technique, it’s entirely achievable. This method works particularly well with thinly sliced cabbage, but you can adapt it for other quick-fermenting vegetables.
Start by selecting the freshest vegetables possible. For this example, I’ll use cabbage, but the process works equally well with radishes, turnips, or a combination of vegetables. Weigh your vegetables precisely – accuracy is crucial for quick fermentation success.
Calculate your salt at 4% of the vegetable weight. This higher salt concentration accelerates the fermentation process while ensuring food safety. For one pound of cabbage, you’ll need approximately 18 grams of salt. Use non-iodized salt, as iodine can inhibit bacterial growth.
Slice your vegetables thinly and uniformly. Thinner pieces ferment faster because there’s more surface area for bacteria to work on. Place the vegetables in a large bowl and sprinkle the salt evenly over them. Now comes the important part – massage the salt into the vegetables for 5-10 minutes until they release significant amounts of liquid.
Pack the salted vegetables tightly into clean jars, pressing down firmly to eliminate air pockets. The vegetables should be completely covered by their own juices. If needed, add a small amount of filtered water to ensure complete coverage.
Place the jars in a warm location (75-80°F) and check them every 12 hours. You should see bubbling activity within 24 hours, and the vegetables will develop a tangy flavor by 48 hours. Taste-test regularly – when the flavor reaches your preference, transfer to the refrigerator to slow fermentation.
Troubleshooting Common Quick Fermentation Issues
Even experienced fermenters encounter challenges, and quick fermentation can present unique issues due to its accelerated timeline. Understanding common problems and their solutions will help you achieve consistent results.
Overly salty vegetables are perhaps the most common issue in quick fermentation. This usually results from using too much salt or not accounting for the vegetables’ natural sodium content. If your ferment tastes too salty, try diluting it with fresh, unsalted vegetables or rinsing briefly before serving.
Mushy vegetables typically indicate either over-fermentation or inadequate salt concentration. Quick fermentation requires precise timing – check your vegetables frequently and refrigerate as soon as they reach your desired flavor profile. Using calcium chloride (food-grade) can help maintain crispness in longer fermentations.
Lack of fermentation activity often stems from insufficient temperature, old salt, or chlorinated water. Ensure your fermentation environment stays consistently warm, use fresh non-iodized salt, and always use filtered or boiled-and-cooled water for brines.
Off-flavors or unusual odors usually indicate contamination or improper technique. Always use clean equipment, keep vegetables submerged below brine level, and maintain appropriate salt concentrations. If something smells genuinely bad (not just funky), trust your instincts and start over.
Storage and Safety Tips for Fast-Fermented Vegetables
Proper storage is crucial for maintaining the quality and safety of your quick-fermented vegetables. Unlike traditional ferments that develop over weeks, quick fermentations require careful monitoring to prevent over-processing.
Refrigeration is your best friend when it comes to quick ferments. As soon as your vegetables reach the desired flavor and texture, transfer them to the refrigerator. This dramatically slows the fermentation process, allowing you to enjoy your vegetables at peak quality for several weeks.
Always keep fermented vegetables submerged below their brine. Exposure to air can lead to surface mold or off-flavors. If brine levels drop during storage, top off with a light salt water solution (1 teaspoon salt per cup of filtered water).
Label everything with dates and contents. Quick fermentation projects can progress rapidly, and it’s easy to lose track of timing. I use masking tape and permanent markers for easy, removable labels that won’t leave residue on jars.
Trust your senses when evaluating fermented vegetables. Properly fermented vegetables should smell tangy and pleasant, never putrid or offensive. They should maintain good color and texture, though some softening is normal. When in doubt, err on the side of caution and discard questionable batches.
Conclusion: Embrace the Art of Quick Preservation
Quick fermentation techniques have revolutionized how I approach seasonal vegetable preservation, and I’m confident they can do the same for you. These methods allow you to capture peak flavors and nutritional benefits without the extended waiting periods of traditional fermentation.
The beauty of quick fermentation lies not just in its speed, but in its accessibility. You don’t need specialized equipment or years of experience to create delicious, probiotic-rich vegetables in your own kitchen. With basic ingredients, simple techniques, and a bit of patience, you can transform seasonal abundance into year-round enjoyment.
Remember that mastery comes through practice. Start with simple projects like quick sauerkraut or fermented radishes, then gradually experiment with more complex flavor combinations and techniques. Each batch teaches you something new about timing, flavor development, and the fascinating world of beneficial bacteria.
As you develop your quick fermentation skills, you’ll discover that this ancient preservation method perfectly suits our modern lifestyles. Whether you’re dealing with an overwhelming garden harvest, taking advantage of seasonal market specials, or simply wanting to add more probiotics to your diet, these techniques offer practical solutions that deliver exceptional results in minimal time.
Frequently Asked Questions
How long do quick-fermented vegetables last in the refrigerator?
Properly stored quick-fermented vegetables typically maintain peak quality for 2-4 weeks in the refrigerator. They remain safe to eat for several months, though texture and flavor may gradually change over time.
Can I use regular table salt for quick fermentation?
It’s best to avoid iodized table salt, as iodine can inhibit beneficial bacterial growth. Use kosher salt, sea salt, or other non-iodized varieties for best results. The grain size doesn’t matter as much as the absence of additives.
Is quick fermentation as healthy as traditional long fermentation?
Quick fermentation still produces beneficial probiotics and maintains most nutritional benefits. While longer fermentation may develop more complex bacterial profiles, quick methods still provide significant health benefits including improved digestibility and probiotic content.
What’s the minimum temperature needed for quick fermentation?
Quick fermentation works best between 75-85°F. Below 70°F, the process slows significantly, while temperatures above 90°F can kill beneficial bacteria or encourage harmful microorganism growth.
Can I speed up fermentation even more by adding vinegar?
Adding vinegar creates pickled vegetables, not fermented ones. True fermentation relies on bacterial activity to create lactic acid naturally. Vinegar will actually inhibit the fermentation process by making the environment too acidic for beneficial bacteria.
Why did my quick fermentation stop bubbling after one day?
This is often normal, especially in quick fermentations. Initial vigorous activity may slow as available sugars are consumed. Continue monitoring – fermentation may still be occurring even without visible bubbling. Taste-testing is more reliable than visual cues for determining progress.